Wow – I sure have neglected this space, haven’t I? I can almost see the virtual cobwebs.
I want to tell you about where I’ve been and why it hasn’t been here.
We are renting a home here in Texas now, and the back yard is fully shaded, and there is really nowhere to garden. My gardening commitments have been reduced to our 4×8 foot plot in the community garden a few blocks away. There are no chickens here for us to care for. Our compost has been moved to tumblers which are easily maintained. We use the city trash and recycling. I have no clothes line. I have no bee hive. We get food seasonally from a local CSA and we shop at Trader Joe’s and Whole Foods. Yes, I use the refrigerator, but no, still no microwave. My canning supplies – all of them – have been packed away in a box in the garage, since I have no room for them in this house. They’ve been there almost a year; no pickles, no jam. The single freezer we brought with us from Colorado is in the garage, unplugged. The dehydrator is in its dusty box. A homesteader, I am no longer.
Since moving to Texas I’ve experienced an incredible amount of free time, what with buying jam instead of making it and drying all my clothes in a dryer. You’d think that would leave a lot of time for blogging, but it really hasn’t.
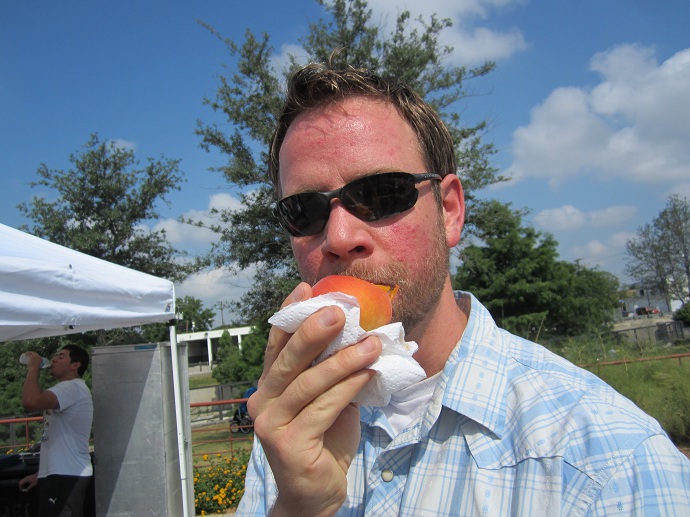
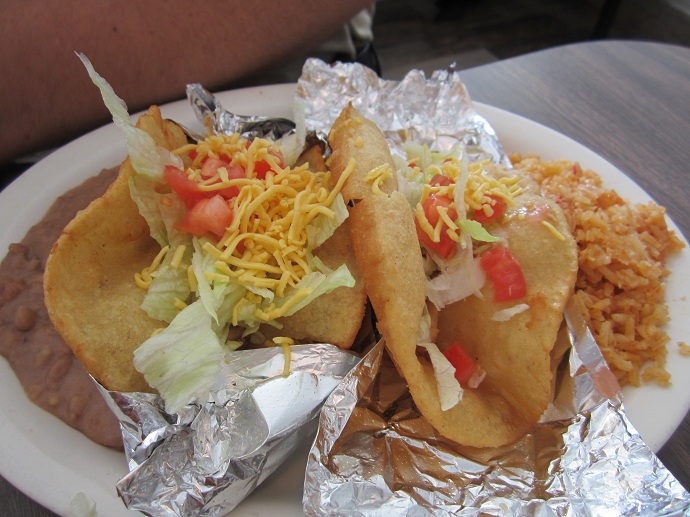
Instead of blogging, instead of Facebook, I’ve been playing with my kids. I’ve been homeschooling. We’ve been exploring the hill country and visited the beach. I’ve been (albeit slowly) meeting my neighbors… and, well, that’s pretty much it.
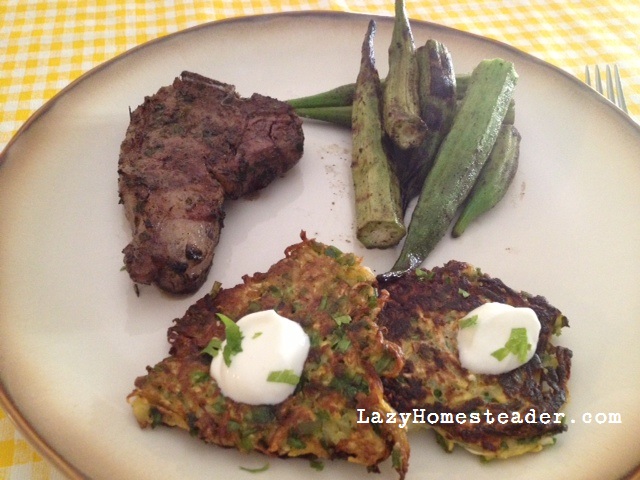
I really, really miss homesteady things. I miss fresh eggs and the bees, and I miss my garden most of all. But less of all of that has left room for more joy within our family. Less DIY projects every weekend, less taking pictures of every. single. step of every meal, planting or project has left more room to enjoy what we are doing when we are doing it.
A year (and even two years) ago, I felt very much obligated to the blog. I felt obligated to come up with ideas, and to take better pictures and to write about every little thing my family did. But seeing my husband and kids sigh as I had to stop projects at every single step for another picture, began to wear on me as much as it did them.
And then we moved, and the to-do list evaporated.
Because of being displaced, I suddenly didn’t have much to write about. I took pictures of the black soldier fly larvae in our compost tumblers, who could amazingly consume our kitchen scraps overnight, and I took pictures of the bat house Rick made me for Mother’s Day. I took photos last January of a friend’s bug-out bag contents to share in this space. But I just didn’t have the words anymore.
After my social media fast in May, I never went back to Facebook. I was happier, my kids were happier. I was freer and more tuned in to my family. But the fast had another effect, and that was I really didn’t know what to write anymore.
Creativity is like that sometimes. Like inertia in a way… if you’re writing, you can write, but if you’re not… well then you’re not.
I thought the urge to write the post I started about the evils of BPA would kick in eventually, or that I’d get those bug-out bag pictures edited and put up. But I haven’t. I had hoped by just writing something the muse would visit me again and I’d be inspired to create something worth posting. Alas, the posts I was able to turn out last year (and there weren’t many) felt very forced, unnatural and were, frankly, not very good.
I have very much loved writing in this space for the last seven years. But I think, for now, I’m done.
I’m still trying to live with a minimal footprint, and plan on packing as much as I can into our garden plot. We’re thinking of getting bees again. But I’m not planning to blog about it. I’ve found joy in less blogging and more living.
I hope you continue to enjoy my archives here and that they continue to help people. I still read all the comments I get and I still respond to them.
Who knows what the future holds… I may write again here. I am very, very grateful for all the relationships, both virtual and real, that have formed through my blogging journey. Thank you, friends.
Now go live life!